
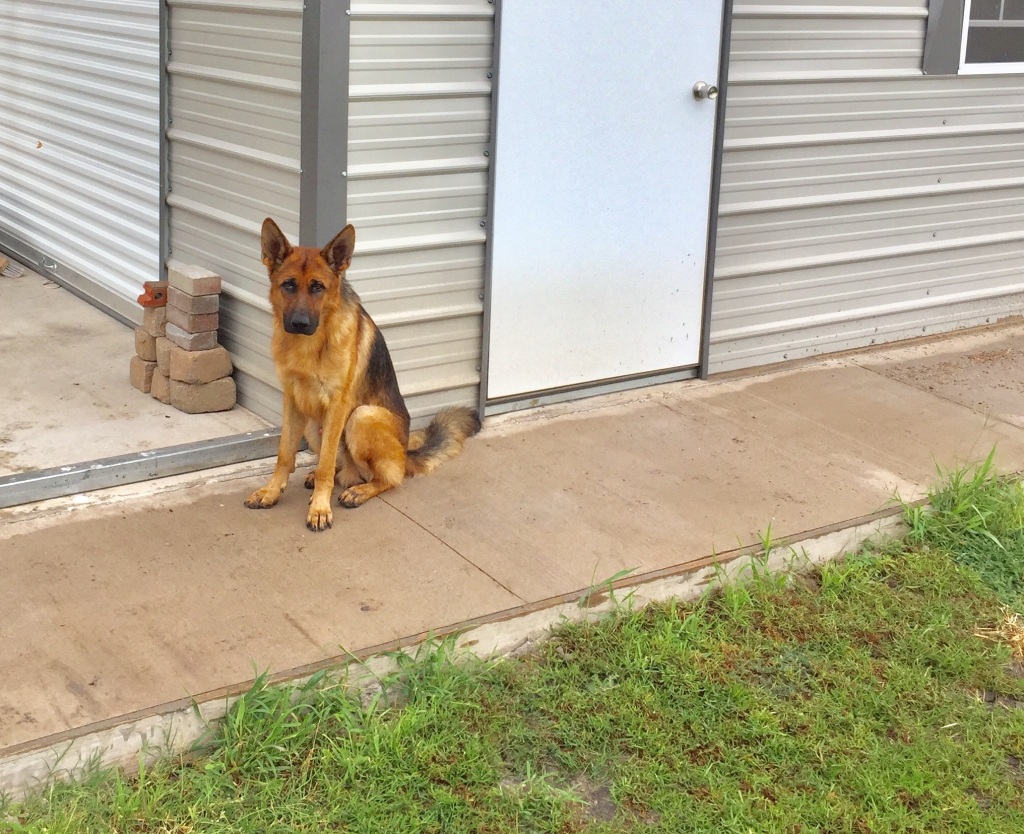
Hello friends! After a brief pause to complete our latest project, I’m back! It took us about three days to pour this concrete sidewalk extension to our shop but it took forever to edit the video and put everything together. As we move along in this journey of DIY’ing, I’m learning more and more video editing tricks so I hope you enjoy the latest video!
Before we get into all of that, I wanted to detail out what all was done for our concrete sidewalk extension. I call it a sidewalk extension because it’s angled down and is on the side of our shop where a traditional sidewalk would be flat and open on both sides. The steps are still basically the same so we wanted to share our project with you!
Here’s What You’ll Need
- Concrete Mix – 80lb bags – high strength (the yellow bag)
- Wood for the forms (1x6s and 2×2 stakes)
- Rebar for the strength, rebar wire, rebar pliers & spacers (small rocks will do)
- 3 inch screws or nails – buy a box of at least 100
- At least 4-6 2x4s
- Plastic tarps – to cover the concrete if it rains
- Concrete trowel
- Grinder (plus a concrete blade) or a joiner – depending upon what you want to do
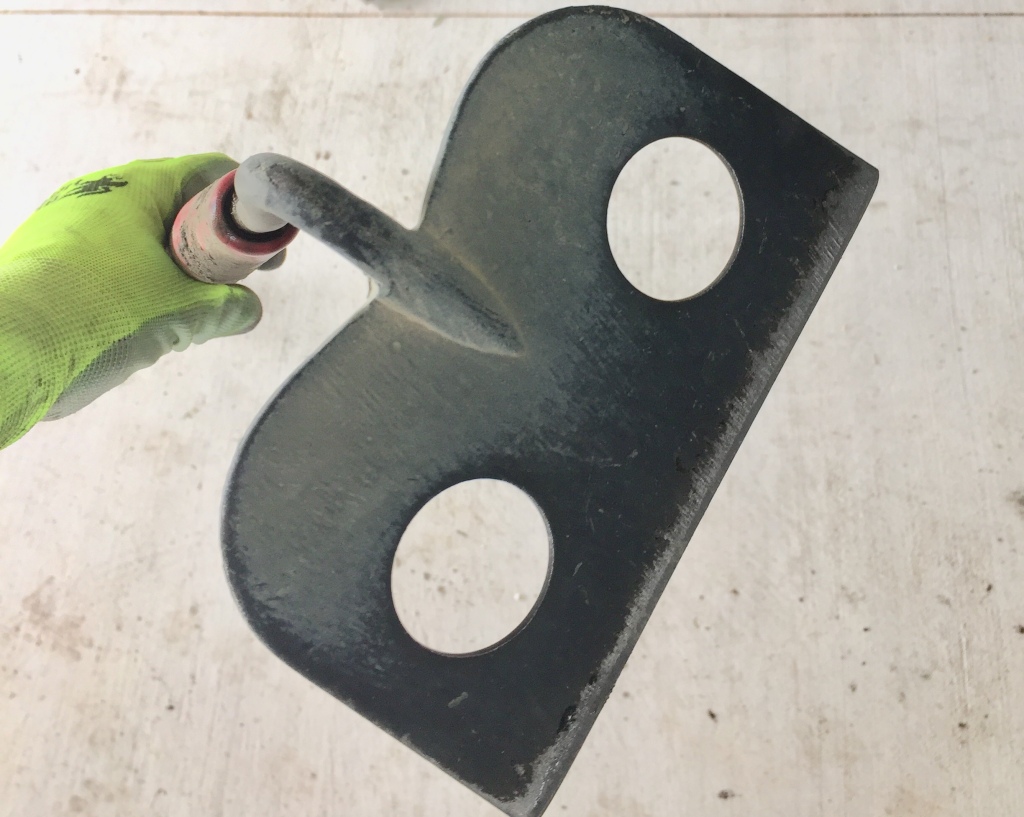
- Hoe with two holes (image below)
- Wheelbarrow
- Hose & sprayer than can turn off and on
- Box cutter, gloves and a shovel
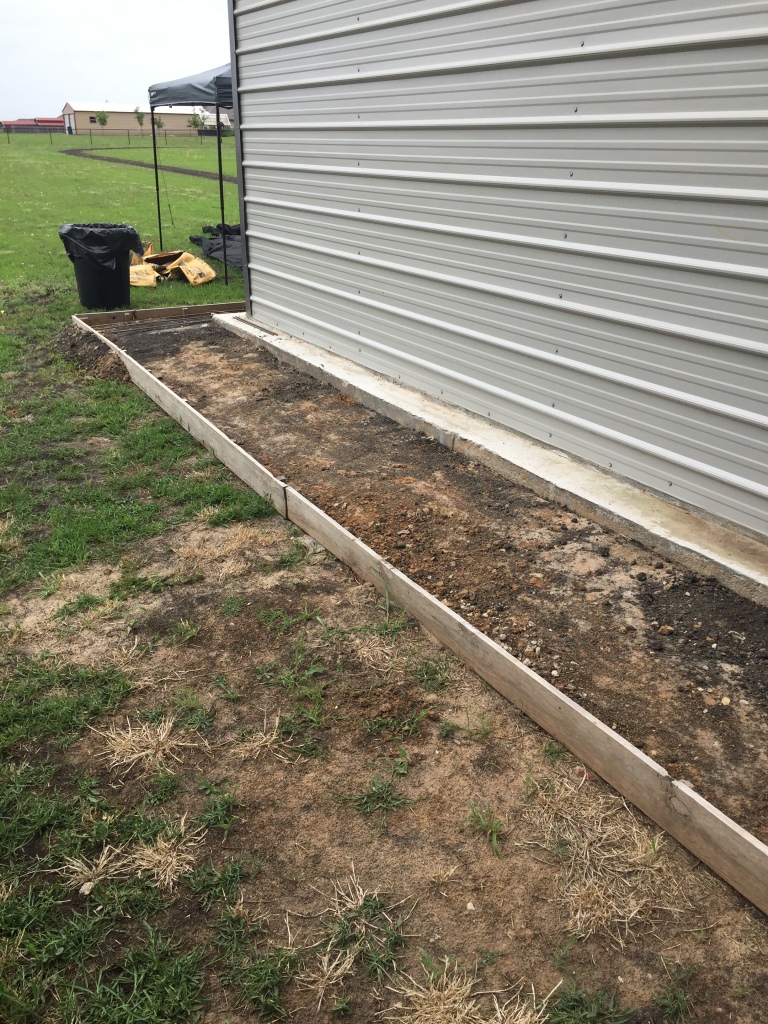
Step One: Installing the Forms
We actually added our forms about a year ago but it’s rather simple. You really just want to make sure you have the 1x6s level from board to board and use the 2×2 steaks outside the form to secure them. That way, when the project is finished, you’ll have a clean smooth edge facing out when you remove the forms. We did ours on the inside because the hubs doesn’t want to remove the form so it was a moot point for us.
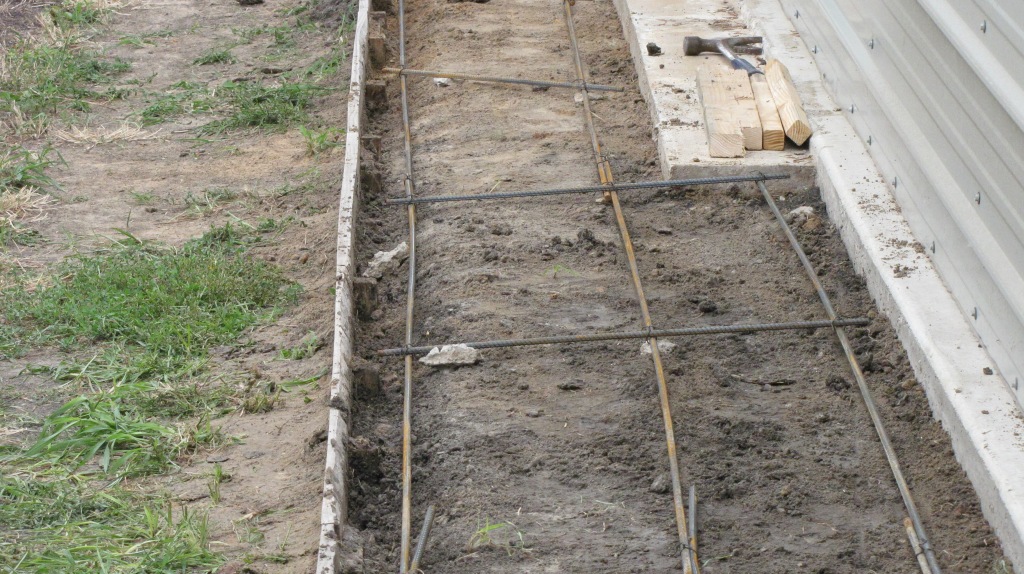
Step Two: Inserting the Rebar
Next you’ll want to place horizontally and then do vertical bars along the top of it about every 2 feet or so. In the corners they will be more around 1 feet apart and that’s fine. It’s all for strength.
Once you have your rebar grid laid out, you’ll need to tie each piece together with rebar wire and rebar pliers. If you can’t find pliers specific for rebar wire, regular ones will do. You’ll just need to wrap the wire around the concrete just like you would wrap a tie around a bread bag. There’s not actual knot, the wire is just twisted together and then once the extra is cut off (leave about 1 inch) you’ll need to push anything that’s standing up, down so it won’t stick up out of the concrete when it’s poured.
The next thing is to go back through and add in spacers. In commercial job sites the spacers are called “chairs” and sit up about 1-2 inches off the ground. We don’t need that kind of space so I just used the rocks that we found in our gravel driveway. The goal is to make sure no part of the rebar is touching the dirt.
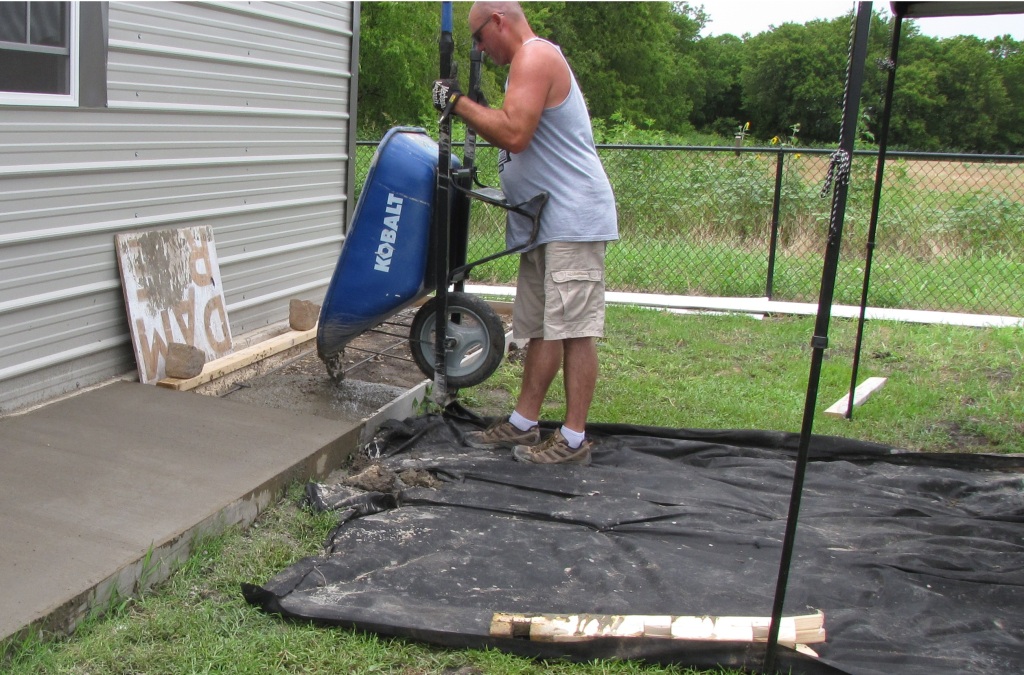
Step Three: Pouring the Concrete
You’ll want to take your wheelbarrow and add some water to the bottom using your hose and water nozzle, about 5 seconds worth. Remember, It’s easier to add water than it is to take it out so be conservative until you get comfortable with the process. You’ll then take your hoe (image below) and mix it together like a big batch of cake mix. Except, don’t eat this!
Pro Tip: Try very hard not to breathe in the dust that will come out when you pour the cement out of the bag. It contains lots of chemicals you don’t want in your lungs!
Mix it until all of the dry bits and pieces are gone. It takes several minutes. Add water conservatively. You’ll want it to be a nice consistency. Not too dry and not too soupy. The dryer you make it, the harder it is to compact together. The wetter you make it, the longer it will take to cure. The perfect example is to get it to look like a nice bowl of stew that’s thick but not soupy.
Once you’ve got it mixed together, you don’t want to waste any time getting it into your form. You can either shovel it into the form or tip your wheelbarrow into the form (from the outside of the form) and pour the concrete in to the form.
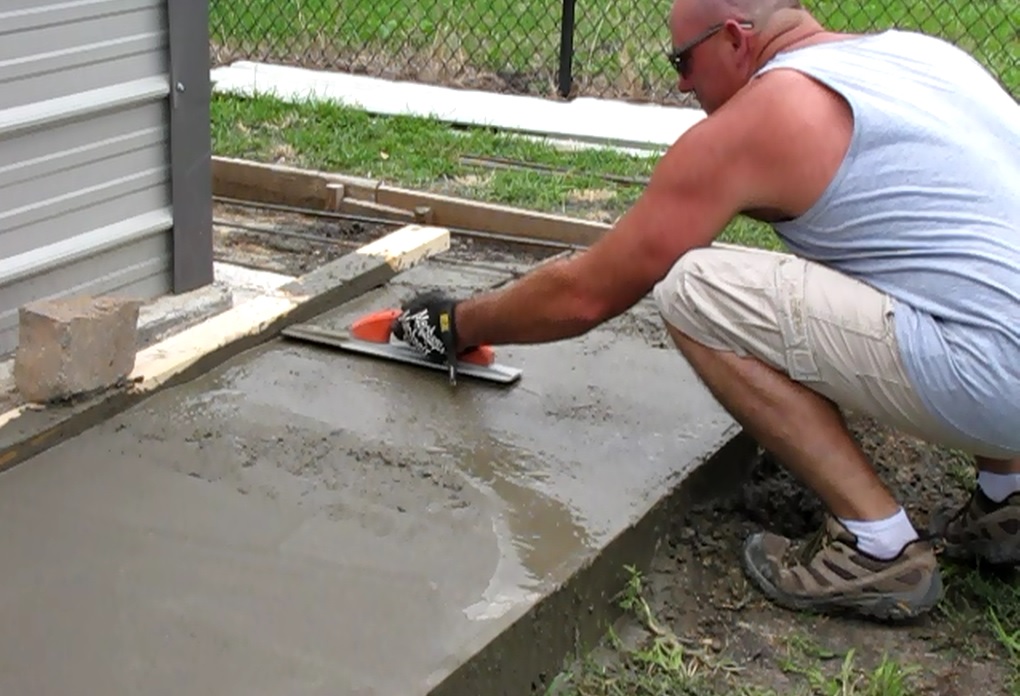
Step Four: Finishing the Concrete
When you have the concrete in the form, you can give it about 5-10 minutes to set-up a bit before you start to finish it, depending upon how hot or cold it is outside. The concrete should not be hard but it shouldn’t be super thin either. It should be about the consistency of peanut butter when you go to smooth it out. Use a 2×4 to get the concrete flat and then use a trowel to smooth it out. (the video gives tons of examples of how to do this!) You can also use the trowel as a bit of a small shovel to move any concrete around if you have any divots. or use a shovel if you have bigger sections that need concrete
Pro Tip: Make sure you rinse off all of your tools after each use otherwise you’ll get dried concrete on them and it will ruin the tools. The wheelbarrow rinsing can be added as part of your water for the next bag of concrete. Just don’t add too much water!
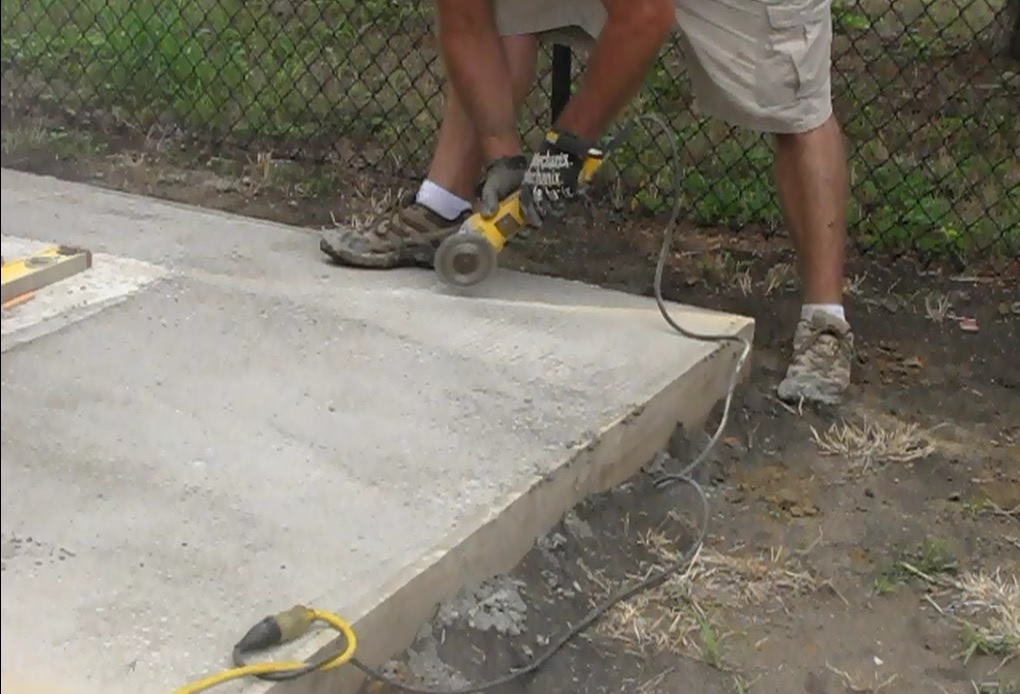
Step Five: Saw Cutting the Concrete
Once the concrete has fully cured, you’l want to saw cut. This usually is about 24 hours after it’s been poured. Now, saw cutting concrete can be intimating but it’s really not any harder than using a saw to cut wood. It’s just A LOT dustier!
To saw cut, you’ll need a grinder with a concrete blade, a 4 foot level, a piece of bright chalk and a mask. The level is to make your line straight, the chalk is to mark it and the blade…well, that’s for cutting as you can guess. 🙂 Once you have your line down you’ll want to cut evenly about 1/4 to no more than 1/2 of an inch deep from start to finish, going as evenly as you can.
Pro Tip: Don’t forget to wear the mask. The dust is filled with chemicals you don’t want in your lungs!
If you feel that it’s too much for you, you can use what’s called a joiner. A joiner would be used while the concrete is setting up, not after and it would create those lines in the concrete like you see in sidewalks down any street. Check out our video which shows exactly how do a joint and a saw cut in concrete: https://youtu.be/ut3zsDp0YbE
Both of these approaches are made to give concrete a relief point for expansion and contraction. Concrete will crack, no matter what you do, it will crack, but this will give it a controlled place to crack so you don’t have spider cracks going everywhere.
Overall Savings
Total, this project cost us about $400 as we had many of the materials needed. The majority of the spend was for the concrete as we bought over 100 (!!!) bags of concrete at the local big box store. My husband is a Superintendent for a commercial concrete company and has 20 years worth of experience…and tools, so that saved us quite a bit. If we would have hired a company to frame and pour the concrete it would have been at least $1,500 if not more so we’ve got a savings of $1,100 right off the bat.
Watch our Video on How to Pour a Concrete Sidewalk!
Have you mixed concrete before? Let me know how it went in the comments below!

Enjoyed! May try at Sonnys along side of houseSent from my Samsung Galaxy smartphone.
LikeLike
Great!
LikeLike
Love saving all that money!!
LikeLike