Home Projects

How to Paint a Feature Wall

Many people can be intimidated by painting a wall but it’s really nothing to fear! Once you get the hang of it, you’ll want to paint everything. To get you there, we’ve created this post to help you with some tips and tricks so you can tackle any painting project with confidence.

Feature wall before and after images.

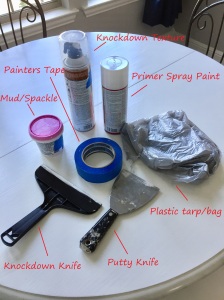
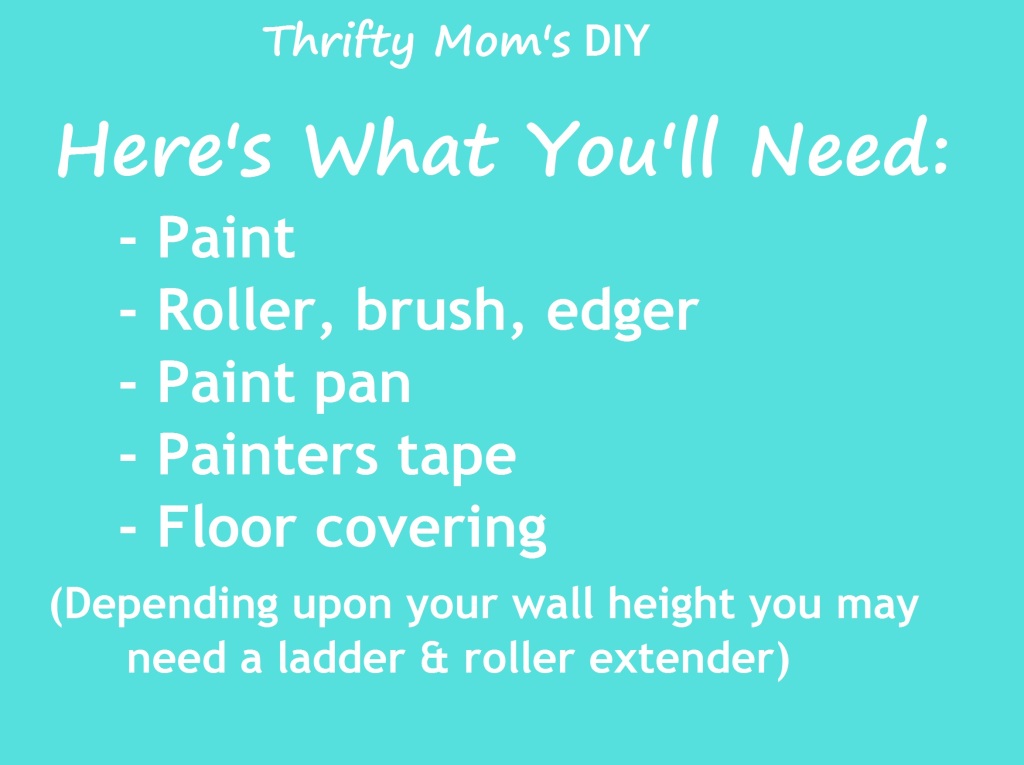
Here’s what You’ll Need:

You'll need paint, a roller, brush, edger, paint pan, painters tape, and a floor covering.

Step One: Prepping Your Space

Whether you are a pro or a novice painter, you’ll always want to prepare your area for painting. This means taking down all pictures and curtains. You can take the quick way and not take everything down but you’ll only get paint on them and cost yourself possibly more time and money. It’s a fact!

I start by removing any and all pictures, decorative items and curtains. I also move back all of the furniture. Since we’re just painting one wall today, I don’t remove all of the furniture from the room. Even if we were painting all walls, I’d probably just move furniture around that’s in the way as I move through the room. No need to make this into a mountain of a project! This is where you can save some steps…not removing everything off of the walls isn’t a step that should be skipped!

Make sure and take everything off the walls before you start painting.

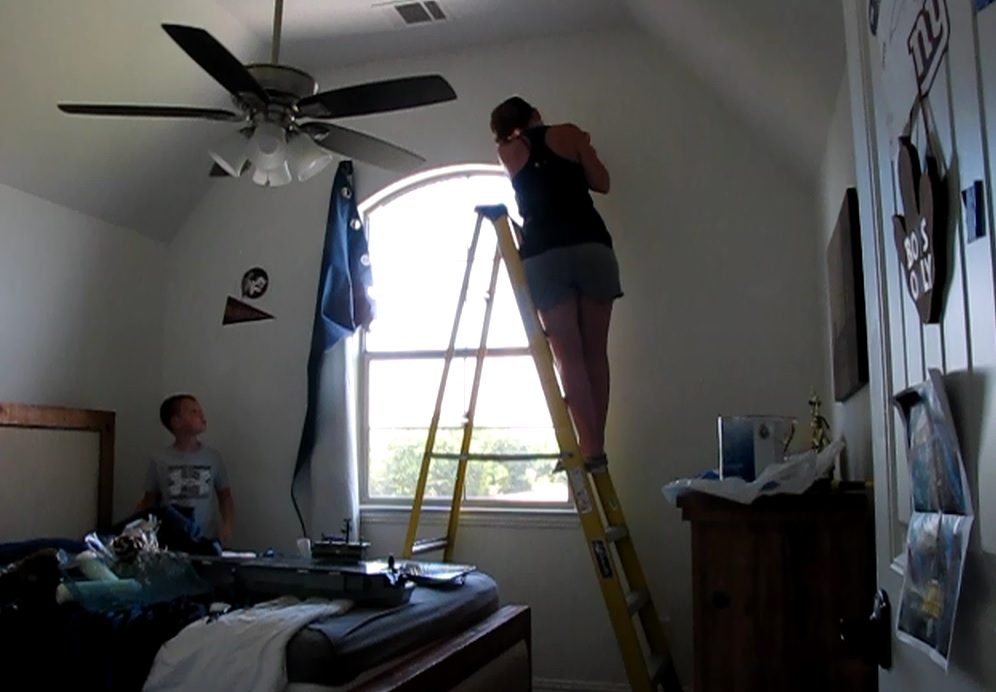
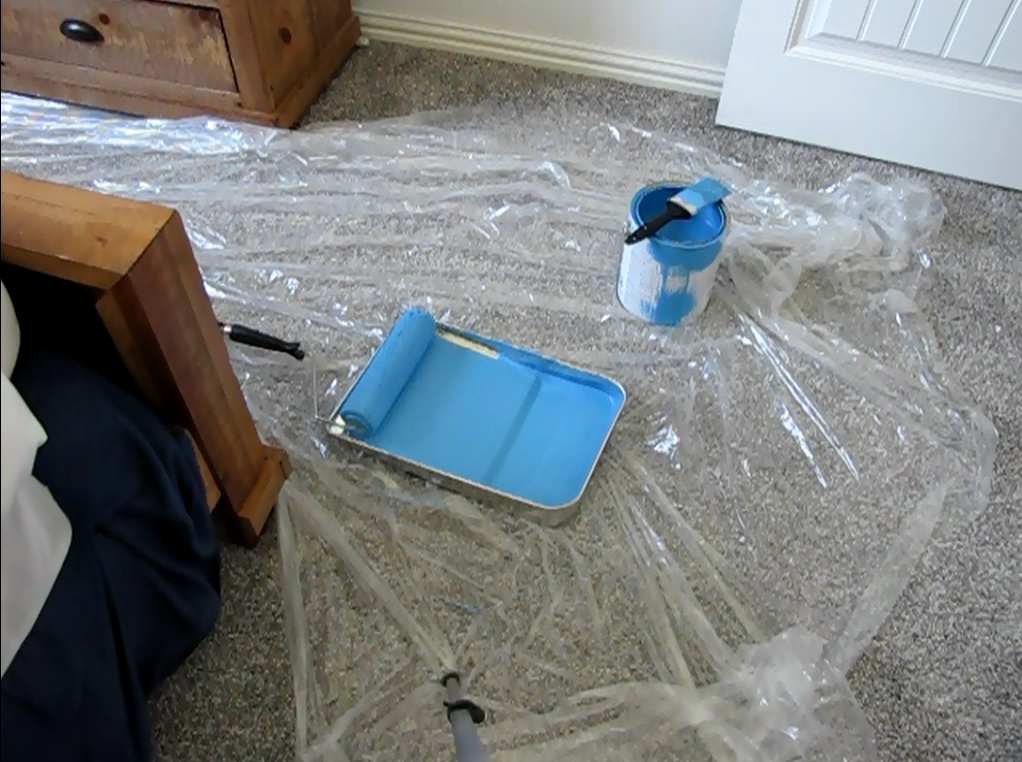
Once that’s all done, I highly recommend that you place a plastic tarp or a cloth that won’t allow paint to soak through, down on the flooring. This will save you lots of time and headache should some paint drop or spill.

Always cover your floors to protect them against paint spills.

Step Two: Painting Your Walls

If you ask a pro, they’ll tell you to start by painting the edges and then doing the main walls. Depending upon what type of paint I’m using and how much time I have, I do either one. This time I was a bit excited to see what it looked like so I started painting the main wall first. Because I’m using a semi-gloss paint, you couldn’t tell that I did that first verses doing the edges first.

Get started painting your walls and getting help from friends and family.

As mentioned in the video, the store you by the paint from should have a display of what each paint finish feels like. They also can have a indicator stating which finish works best and where. I love semi-gloss so I use it everywhere. It’s very versatile and feels great to the touch. But, depending upon your design goals, other finishes may work best for you.

Since I started on the main wall, I used my roller to get a good amount of paint on the roller. I then pressed the roller firmly down on the wall until most of the paint was used. If you try to push it too far the roller will actually start to take up some of the paint, making it to where you’ll need two coats, so it’s best to get more paint when you first notice it.

Pro Tip: Most paints, unless you’re using an oil based paint, are very forgivable. So if you happen to get some paint on the trim it can usually come right up with a wet paper towel or cloth. Just don’t let it dry!

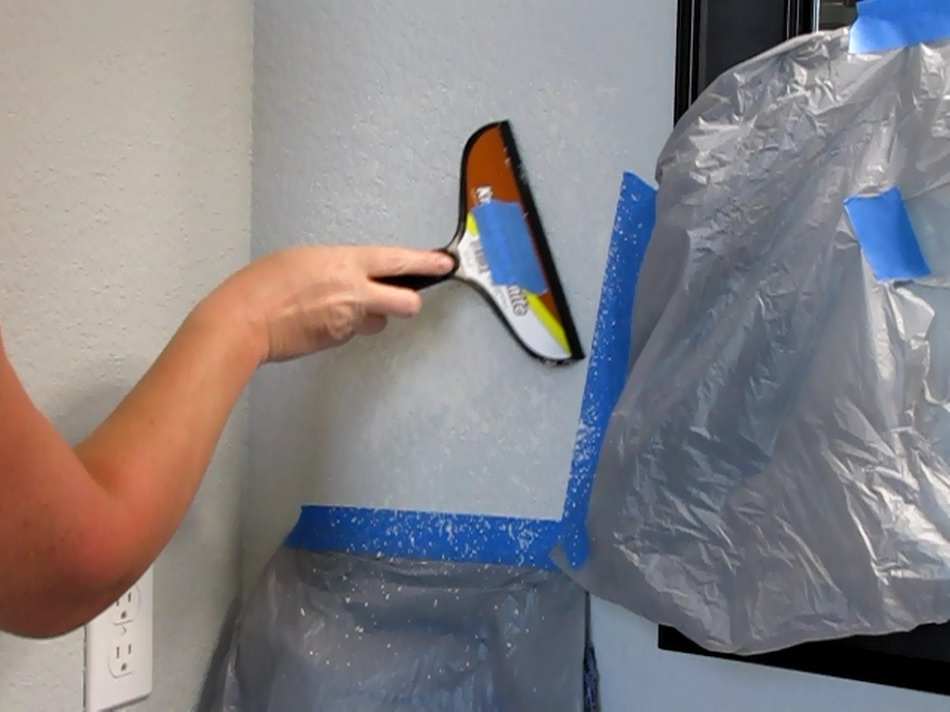
Step Three: Paining The Edges

Once you’re done with the walls, you’ll want to then start on the edges. As mentioned before, some like to do this part first and depending upon the type of paint you have, it’s recommended. Be sure and ask when you purchase your paint. The big box stores might not know, but the local paint stores definitely will.

Make sure and be very careful with the edges of trim when you are painting.

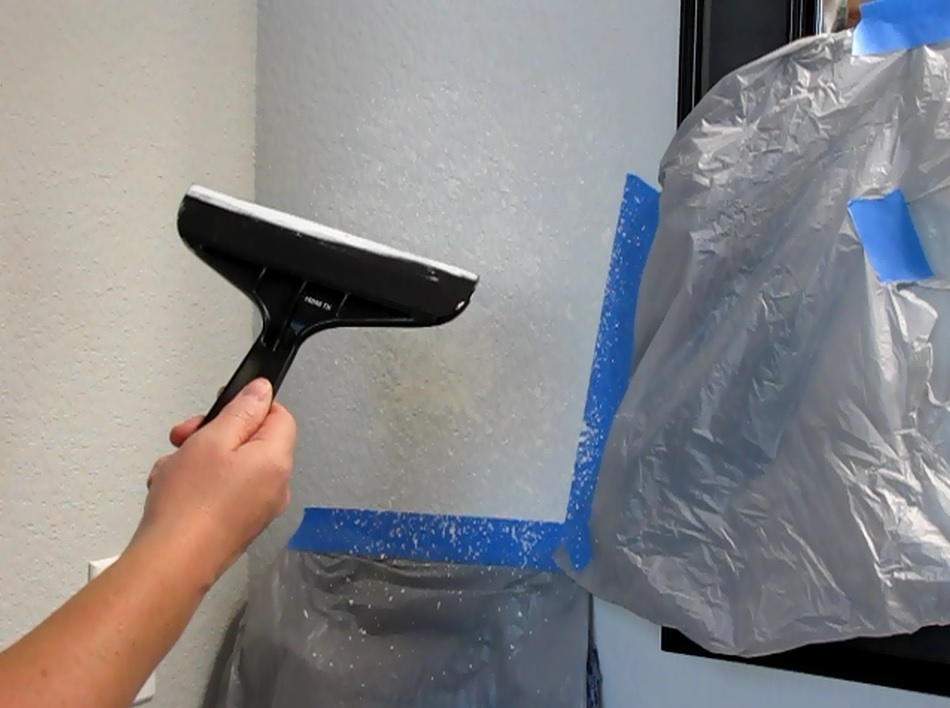
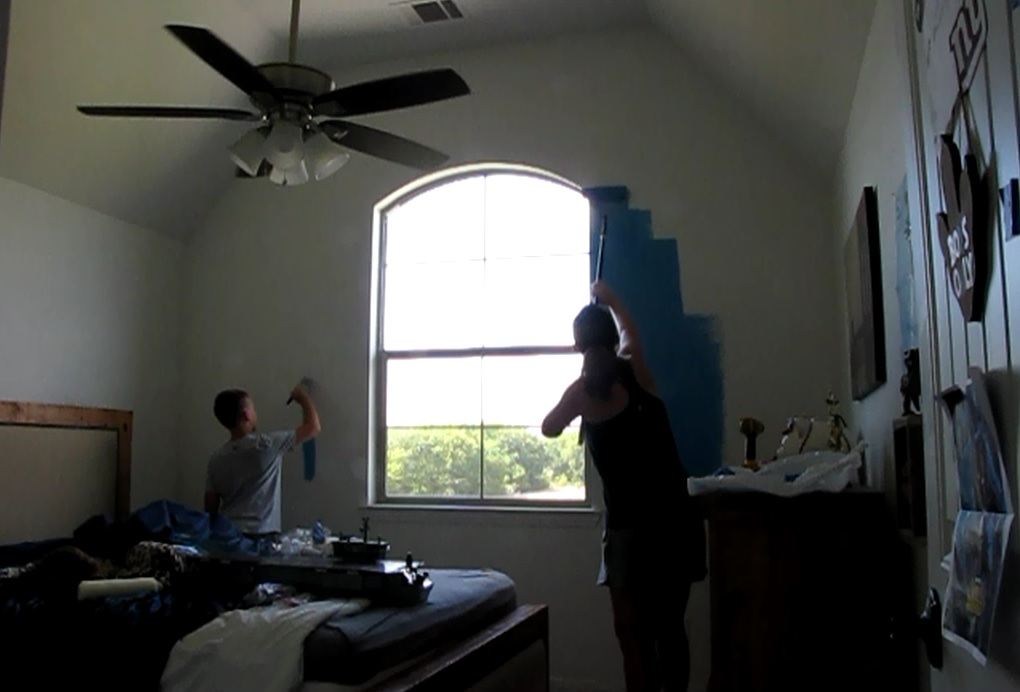
I like to use three things when doing the edges: painters tape, a angled brush and an edging tool. The painters tape needs to go on the trim of the baseboards, the window casing and anything else you need to paint close to but you don’t want to paint. In the image above, I didn’t use the painters tape and it cost me because I had to go back once the paint dried and touch up the white paint on the trim.

All in all, painting a feature wall just takes patience because you’re not painting the wall right beside it. The best advise I can give is to go slow and take your time.

Finished view of the feature wall.

Check out our YouTube video!

Home Projects

Fixing Drywall and Using Knockdown Texture

If you’ve ever lived in a home with drywall, you’ve had a hole in it at some point. Whether you are renting or you own your home, you will need these quick and easy steps to save yourself money by doing it yourself and not hiring a contractor.

Here’s what you’ll need:

  • Putty knife
  • Spackling/mud
  • Knockdown texture
  • Knockdown knife
  • Painters tape
  • Plastic tarp or bag
What you'll need to fix a hole in drywall.

Step One: Prepping and Spackling

How to prepare a drywall hole for fixing with mud and knockdown texture.

Make sure the area you are about to repair is clean of any dirt and debris. This will help you out in the long run when you are working with the mud and the knockdown texture. It also keeps the extra junk out of your mud, texture and later paint when you are applying each of them.

Once everything is clean you can get started with the spackling (aka mud). I bought a small jar of spackling compound at our local hardware store and I chose the the type that starts out pink and ends up white when it’s dry. It also doesn’t need to be primed so you can paint right over it. I will be adding knockdown texture then painting so I will still need to prime but the pink to white drying feature was a big sell for me. Why you ask? People, I’ve got kids, a job, a hubby, a dog, and on and on. I don’t need to waste time trying to guess when something is ready for the next step. Even if you have none, some, or all of those same responsibilities, who wants to waste time? Not me!

Step Two: Applying Spackling

Once you have the spackling of your choice, it’s time to get the spackling knife out. Some people may be intimidated by spackling but honestly, it’s really very easy. What I tend to do is take more spackling out than what I need and then go from there. If you put too much, you can wipe it off with the spackling knife or you could also use a wet paper towel. Even if it dries, you can still generally use a wet paper towel to remove any excess or any areas that are sticking out that you don’t want. Once it’s dry, sandpaper works as well to smooth out bumps and rough edges.

Using a spackling knife with mud

After you have it applied the mud to all of the areas you want it, it’s time to let it dry. Depending upon how big the hole is and how quickly your spackling is made to dry, you may be waiting 15 minutes to 24 hours. That’s why I love the pink stuff! The drying time is different for every repair so having something that turns white when it’s fully dry is a fantastic thing!

Step Three: Applying Knockdown Texture

Knockdown texture, like spackling, can be daunting for some if you haven’t done it before but it’s really quite easy to manage if you approach it conservatively. Like spray paint, the harder you press down on the trigger, the more it will come out. Additionally, unlike some spray paints, there is also a a light or heavy texture option. Most knockdown texture bottles will give you an example of what their product considers as light or heavy. You can gauge your wall texture level off of that. When you set the texture level, I highly suggest using some sort of test surface before you start on your wall to make sure you have it right. I used a couple of test surfaces which were a cardboard box and plywood. You could also, of course, use a spare piece of drywall.

Handy Tip: Shake the can for one full minute and continue to shake it throughout the application process after. This keeps the texture fully mixed and will allow for it to spray in the manner in which it is intended to. If you don’t, an oily liquid will come out first and the texture won’t be the one you can work with.

When applying the knockdown texture, after fully shaken, it’s best to keep at least 6-8 inches away from the wall and spray in short bursts so you can control the splatter. The knockdown texture will come out in a similar consistency to silly string, but just not in a string form. Another example is how whip cream comes out of a can, just with more stickiness and not as creamy, chunky would be a good example but not quite exact. As mentioned, continue to shake the can throughout the application.

Example of knockdown texture consistency

The knockdown texture that I picked up suggested a wait time of 4-8 minutes.Through testing, and understanding of how much I’ve applied, around 6 minutes works out best for my uses. If you have more or less knockdown texture applied to one area, this time limit will be more or less. The way I knew 6 minutes was best for my general use, was when I went to knock it down.

Step Four: Using the Knockdown Knife

For those of you new to this “knockdown texture” stuff, it is where you take a material that comes out of the can in bubbly texture and make it flat. What you don’t want to do is make it a solid/completely flat surface, otherwise you would be negating the entire purpose of knockdown texture.

You can purchase a knockdown knife at your local hardware store or big box store. It’s really quite similar to the spackle knife but it has foam edge rather than a metal one. Mine has a white edge in the picture below, but that’s just because I’ve used it before. The foam edge is actually black.

Using a knockdown knife

While holding the knockdown knife at a 15-ish degree angle, as seen in the image below, it’s best to smoothly run your knife over the top of the texture but not press hard. Pressing hard will give you a smooth surface, which is what you don’t want. Just sort of pass over it lightly. If you find some areas have smoothed out too much, take the tip of your knockdown knife and dig in a bit, creating a little indentation in random areas. If you don’t get the texture you want right off the bat, you can add some more using short, controlled bursts of spray. Then let it dry and knock it down again. Do this until you are satisfied. BUT remember, you can always add more, it will be messy to remove.

How to hold a knockdown knife

Check out the video too!